How to remove and Replace Oven Racks and Accessories:-
Simple Steps for Restoring Your Faulty Oven Heating Element and there Parts
You'll find instructions for kitchen rack placement in the recipe, whether you're roasting, broiling, or baking. But how do different parts of your oven cook, and if you need to replace the rack how to do it?
Use this guide to make you a better cook as it helps to deal with your oven racks. We – PartsFPS Team will gradually share the information about the oven racks, their positions, how to replace faulty oven racks and how to reinstall them as well.
Proper Oven Rack Positions
The rack positions are listed from the top to bottom below. Racks in GE and Hotpoint ovens are designed with specific uses.
Position 1:
This is the top position, providing broil level.
Position 2:
This is the second top most position but its use is very rare. It is specially used where normal broil heat is not sufficient, means other than broiling fewer than 208 volt conditions.
Position 3:
This is the third position from the Top. The most common use of this position is for broiling. This position allows proper broiling, without burning.
Position 4:
This is the fourth position from top and Second position from the bottom. This is also known as baking position. To obtain the best baking results, the food is properly positioned between the heating elements.
Position 5:
This is the lowest setting in the oven. The use of this rack is very limited, commonly used for some special baking purpose.
L - Position:
This is an extra low bottom position to allow for large item roasting or for multiple items baking by placing items on this shelf and on a shelf in the "C or 3" position. (On some gas ranges)
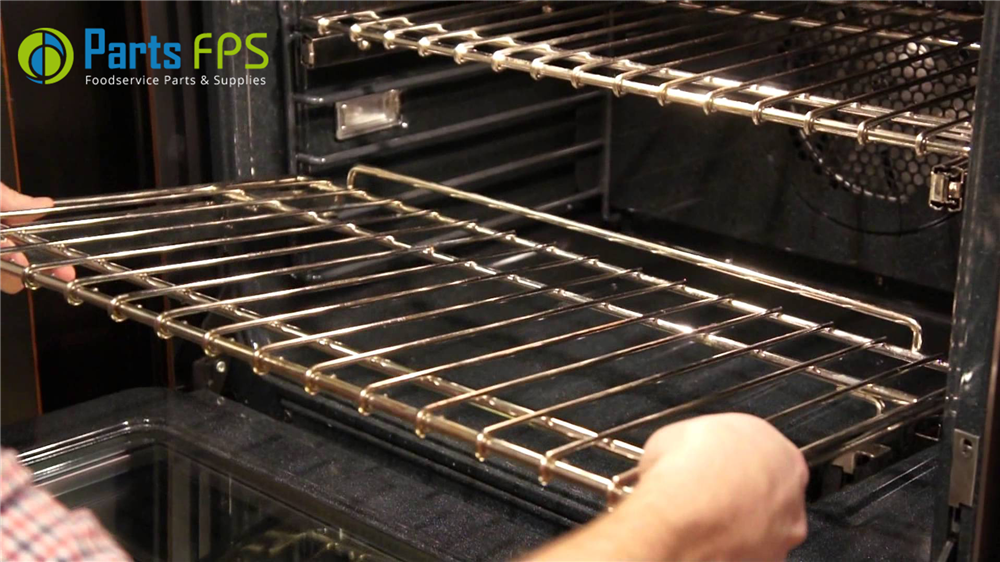
Removing Oven Rack
The oven racks are designed with stop-locks for the safety of the users. So, that, they will not tilt when removing food or when placing food on them. This stop locks will stop the racks of coming completely out of the oven, but to activate the stop locks the racks must have to place correctly in the oven.
Steps To Remove An Oven Rack:
- Make sure the rack is pushed all the way into the oven.
- To unlock the front rack locks from the rack supports, grab the rack by both its lower front rail and upper front rail and lift straight up.
- Firmly holding onto both the upper and lower front rails, removes it from the oven by pulling the rack forward.
Steps To Replace An Oven Rack:
- Place the rear rack locks over and onto the rack supports.
- On the rear rack supports, slide the rack all the way in until the rear rack locks are secured. And simultaneously press the front rack locks onto the front rack supports. If you found that it is difficult to replace or remove the oven racks, then wipe the oven rack supports with cooking oil.
Look forward to hearing from you and let us know about how this article helps you in this DIY process of replacement of the oven rack. And if you are looking for the high quality oven racks from the top most manufacturers – look at our online store – PartsFPS.