Slicers are an essential kitchen appliance for delis, grocery stores, and other foodservice establishments such as buffets, cafeteria and catering businesses. When it comes to slicers, uniformity and precision are two important qualities in the foodservice industry. So, Hobart offers slicers that helps to get high-quality cuts and deliver precision with every piece while cutting vegetables, cheese or deli meat. Cleaning of such a versatile Hobart slicer is necessary. Hence, in this article, we discussed about how to clean Hobart slicer. Learn and clean your slicer properly.
How to Clean Hobart Slicer?
Now, we are going to explain about general cleaning of the Hobart slicer. Just use a clean cloth that is soaked in mild detergent and warm water. Wipe all surfaces of the slicer. Hard cleaning is required where food and liquids are accumulated. Make sure to wipe surfaces where there is hand contact like handles, knobs, control knob, etc.
You have to use the correct amounts of soapy water and sanitizer on the sharpener mount hardware to clean. After that, rinse with a fresh cloth and clean water. Once rinsing has been completed, apply the sanitizing solution to clean surfaces. Ensure that your Hobart slicer is clean of all food soil before sanitizing.
Shop Online Hobart Slicer Parts @ PartsFPS.
Disassemble Hobart Slicer Parts for Cleaning
For Hobart slicer cleaning thoroughly, you must disassemble the slicer. It is necessary to remove all parts, cleaning, sanitizing and be allow to dry before reassembling for use.
Sharpener
The sharpener is mounted on the top of the appliance. So, you need to remove it by lifting to straight up.
Meat Grip
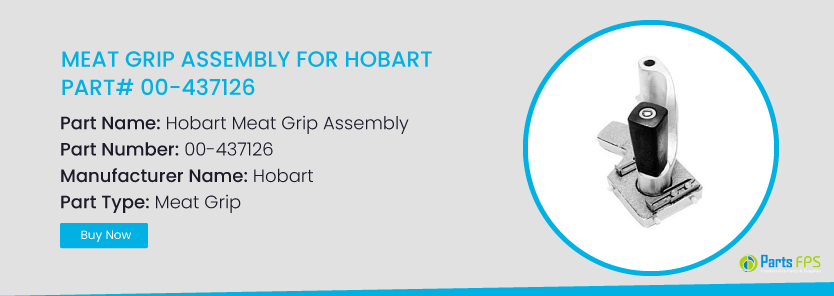
Meat grip is placed on the product tray that can be removed easily. By loosening the meat grip slide rod from the product tray while holding it's handle, you need to remove the slicer's meat grip. Now, pull the meat grip slide rod from the handle as well as the product tray. After that, you have to loosen the meat grip handle and remove the handle, meat grip arm and washer.
Product Tray
The gauge plate of the slicer should be closed for cleaning the product tray. Pull the tray towards you until it stops moving. Next, loosen the knob on the support arm and tilt the product tray to the right. You can clean the tray in this open position. Otherwise, remove it by grasping with both hands lifting straight up.
Hobart Replacement Parts for Slicer - Order Today!
Top Knife Cover and Ring Guard Cover
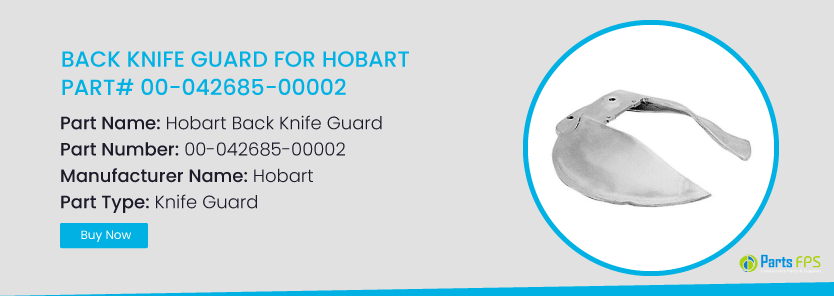
You have to remove the top knife cover by pulling on the latch knob. This cover is held in place by a magnet under the latch knob. Now, remove the plastic ring guard cover by lifting it.
Knife
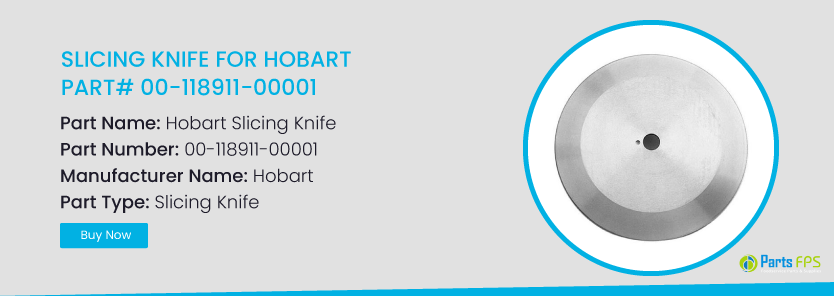
For HS series slicers, you can remove the knife. You should take care while removing the knife. To remove the knife, rotate it to align the arrow on the knife with the pin on the ring guard at 1'o clock position. Moreover, the ridge on the knife hub needs to be aligned with the same pin. And, the pin on the knife removal tool fixes the hole at 11'o clock position in the knife.
You need to place the knife removal tool on the knife. The 3 slots on the tool fit the three pins on the ring guard. Now, carefully push the handle into the hub and turn it counterclockwise until it stops. Then, lift the knife and tool up & out.
Get OEM Hobart Parts from PartsFPS at Low Costs!
Hobart Slicer Cleaning
Sharpener
Check for residue inside the sharpener housing. Wipeout any residue inside the component. Also, wash, rinse and sanitize it in a sink.
Meat Grip
You can wash, rinse and sanitize the meat grip in your washbasin or sink.
Product Tray
Clean the product tray in the sink by washing, rinsing and sanitizing. By using a brush, you have to clean the product tray pin.
After that, you need to clean the knife cover and plastic ring guard cover.
Knife Cleaning
For a removable knife, you can easily wash, rinse and sanitize in a sink or dishwasher.
For a non-removable slicer knife, clean around the ring guard by using a moistened and folded cloth, Using this towel, you need to clean in between the knife and ring guard. You will be able to wash, rinse and sanitize the knife by wiping outward from the center. You should not clean any part or component of the Hobart slicer with steel pads.
Reassemble Hobart Slicer
After all components have been cleaned, sanitized and allowed to dry, you can reassemble your commercial slicer to use.
After all, components have been cleaned, sanitized and allowed to dry, you can reassemble your commercial slicer to use. When working with knife, you must use the removal tool. These removal tools helps you to keep in a safe position by locking the blade. With the removal tool, carefully remove and reassemble the blade without damaging the knife. However, you can simply reassemble your Hobart slicer. For further more instructions on Hobart slicer reassembling, check the owner's manual.
Final Words
Regular Hobart slicer cleaning is extremely important for product and machine as well. If you clean your slicer after completion of each day operation with a soft cloth, mild detergent and hot water, it helps your unit works long time. Be careful while cleaning surfaces, all parts of the slicer and underneath. Once you have done cleaning, rinse with warm water and allow it to be dried for avoiding bacterial growth. Our guide on how to clean a Hobart meat slicer will definitely help you to keep your unit clean.


